

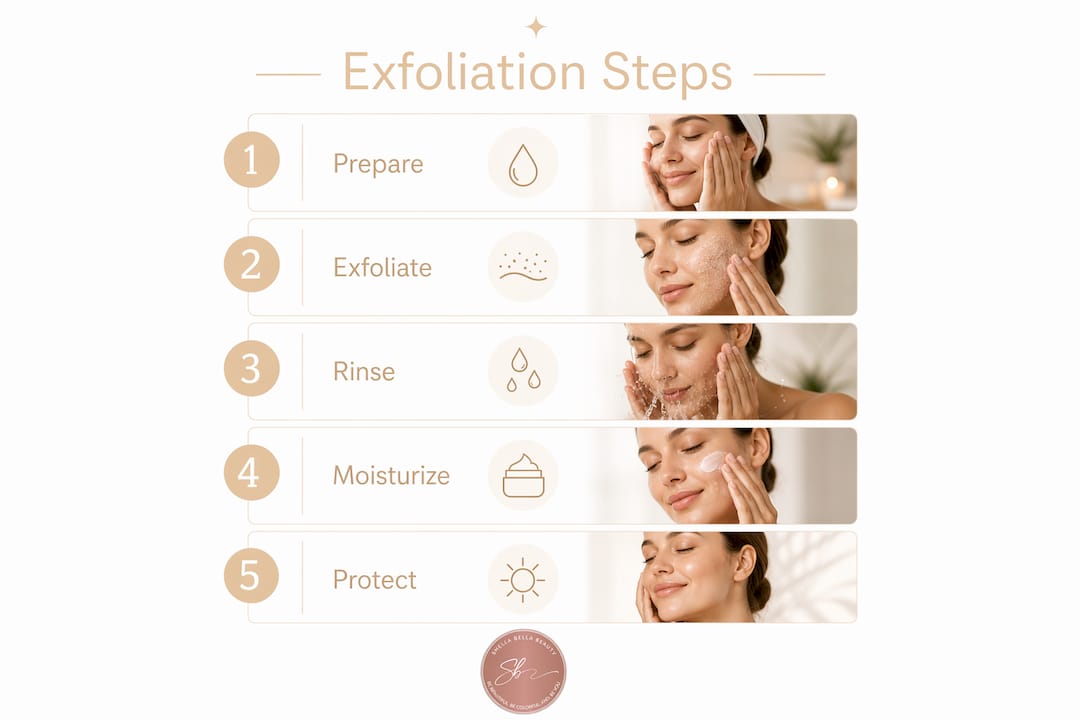
Gently remove flaky lip skin by softening your lips with warm water, massaging a fine sugar-and-oil scrub in small circles for about 30 seconds, rinsing clean, and immediately sealing with a rich occlusive like petrolatum or shea butter. That four-step rhythm, done with light pressure and genuine patience, is all your lips need to return to their natural softness. For those drawn to chemical options, a very mild PHA or lactic acid product can dissolve dead cells without any physical friction.
- Soften: Press a warm, damp cloth to your lips for a short period to soften them.
- Scrub: Apply a fine sugar-based scrub and massage gently for a brief period.
- Rinse: Wipe away with a clean, damp cloth.
- Hydrate: Apply a thick balm or petrolatum immediately after.
Safety note: Stop at once if your lips are raw, cracked, or bleeding. Patch-test any chemical exfoliant on the inside of your wrist before applying it near your mouth.
Pro Tip: Exfoliate at night, when your lips have hours to recover under a nourishing balm rather than facing wind, sun, or lip color right away.
Table of Contents
- What do you need before you exfoliate your lips?
- How to exfoliate the lips with physical methods
- How to use chemical exfoliation safely on your lips
- What should you do immediately after exfoliating?
- How often should you exfoliate your lips?
- Common mistakes that damage lips during exfoliation
- When should you see a dermatologist about your lips?
- Expert tips from Marshella at Shella Bella Beauty
- Key Takeaways
- Why gentle exfoliation is the only kind worth doing
- Smooth lips begin with the right ritual foundation
- Useful sources
- FAQ
What do you need before you exfoliate your lips?
Gathering the right tools and ingredients before you begin makes the difference between a restorative ritual and an accidental irritation. Lip skin is thinner than the skin on your cheeks, carries no oil glands, and holds moisture less readily, so every material you choose should work with that delicacy rather than against it.
Safe physical tools:
- A soft, clean washcloth dampened with warm water
- A lip-specific scrub with fine sugar or gentle cellulose beads
- A very soft toothbrush (extra-soft bristle rating only)
Avoid: coarse salt scrubs, rough household towels, medium or firm toothbrush bristles, and anything with large, jagged abrasive particles.
Emollients and occlusives to have on hand:
- Petrolatum (plain Vaseline-style product) for immediate aftercare
- Shea butter or coconut oil to blend into DIY scrubs
- Glycerin or raw honey as humectant additions
Chemical exfoliant options (use with caution):
- PHAs such as gluconolactone (the gentlest category)
- Lactic acid or mandelic acid at low concentrations
- Avoid: high-strength glycolic acid peels and unbuffered acids, which are too aggressive for lip tissue
Pro Tip: Keep a plain petrolatum product within arm’s reach every time you exfoliate. Applying it within seconds of rinsing, while lips are still slightly damp, locks in the most moisture.
How to exfoliate the lips with physical methods
Physical exfoliation works by gently lifting dead skin cells through mild friction. The key word is gently: the goal, as Curology notes, is to remove flaking so moisturizing treatments can penetrate more fully, not to aggressively resurface the way a facial peel might.
The damp washcloth method
- Soak a soft washcloth in warm water and wring it out.
- Press it gently against your lips for 30 seconds to soften the skin.
- Using the cloth, move in small, circular motions with almost no pressure for 15–20 seconds.
- Rinse your lips with cool water and pat dry.
- Apply a thick balm or occlusive immediately.
The sugar scrub method
A simple DIY sugar scrub pairs fine white sugar (the exfoliant) with a nourishing oil or honey (the emollient). Vaseline’s guidance highlights that emollients in the scrub base are not optional: they soften the skin and reduce microscopic tearing during buffing. A reliable ratio is one teaspoon of fine white sugar to half a teaspoon of coconut oil or raw honey. Mix, apply to damp lips, and massage in small circles for 20–30 seconds with light pressure. Rinse thoroughly, then moisturize at once. If you prefer a ready-made option, an emollient-rich sugar scrub with a nourishing base follows the same principle.
- Wet your lips with warm water.
- Apply a small amount of scrub to your fingertip.
- Massage in gentle circles for 20–30 seconds, using only the weight of your finger.
- Rinse with cool water.
- Pat dry and seal with petrolatum or a rich balm.
The soft toothbrush method
An extra-soft toothbrush, used dry or with a tiny amount of balm on the bristles, can gently buff away flakes. Limit strokes to 10–15 seconds and always sanitize the brush before use.
Safety callouts: Never exfoliate lips that are chapped, sunburned, or have open cuts. Avoid cinnamon, peppermint, or citrus additives if your lips are sensitive, as these can cause stinging and inflammation.
| Method | Relative gentleness | Best for |
|---|---|---|
| Damp washcloth | Very gentle | First-timers, sensitive lips |
| Sugar + oil scrub | Gentle | Weekly maintenance |
| Soft toothbrush | Moderate | Stubborn flaking, experienced users |
Pro Tip: Exfoliate right before applying a restorative overnight balm. The freshly cleared surface absorbs nourishing ingredients far more readily.
How to use chemical exfoliation safely on your lips
Chemical exfoliation dissolves the bonds holding dead cells to the surface, which means no friction at all. That sounds appealing, but The Ordinary’s guidance is clear: any acid protocol for lips must be milder than what you would use on your face, because lip skin is thinner and more reactive.
Recommended agents:
- PHAs (gluconolactone): The gentlest option; large molecules penetrate slowly and carry humectant properties.
- Lactic acid (low concentration, 5% or below): Hydrating as well as exfoliating; better tolerated than glycolic.
- Mandelic acid: Larger molecule than glycolic, slower-acting, and less likely to cause stinging.
Agents to avoid: strong glycolic acid peels, unbuffered AHAs above 10%, and any formulation not intended for use near the mouth.
Patch-test and application steps
- Apply a small amount of the chosen product to the inside of your wrist.
- Wait 24 hours and check for redness, itching, or swelling.
- If no reaction appears, apply a thin layer to your lips, avoiding the inner vermilion border.
- Leave on for the time the product specifies (usually 1–2 minutes for a rinse-off formula; follow leave-on instructions for PHAs).
- Rinse thoroughly with cool water.
- Apply an occlusive immediately.
Do not:
- Use strong glycolic peels on lips.
- Combine chemical exfoliants with retinoids or strong benzoyl peroxide near the mouth.
- Apply lip makeup for at least 24 hours after a chemical treatment.
- Use on open wounds or severely dry lips.
Start with once every two weeks and increase frequency only if your lips show no irritation.
What should you do immediately after exfoliating?
Aftercare is not optional. Freshly exfoliated lip skin has a temporarily weakened barrier, and what you apply in the next few minutes shapes how well it recovers.
Immediate aftercare steps:
- Rinse lips with cool water to remove all scrub residue.
- Pat dry with a clean, soft cloth.
- Apply a thin layer of glycerin or honey if you want a humectant base.
- Seal with a thick occlusive: petrolatum, shea butter, or a ceramide-rich balm.
- During the day, add an SPF lip balm over the occlusive layer.
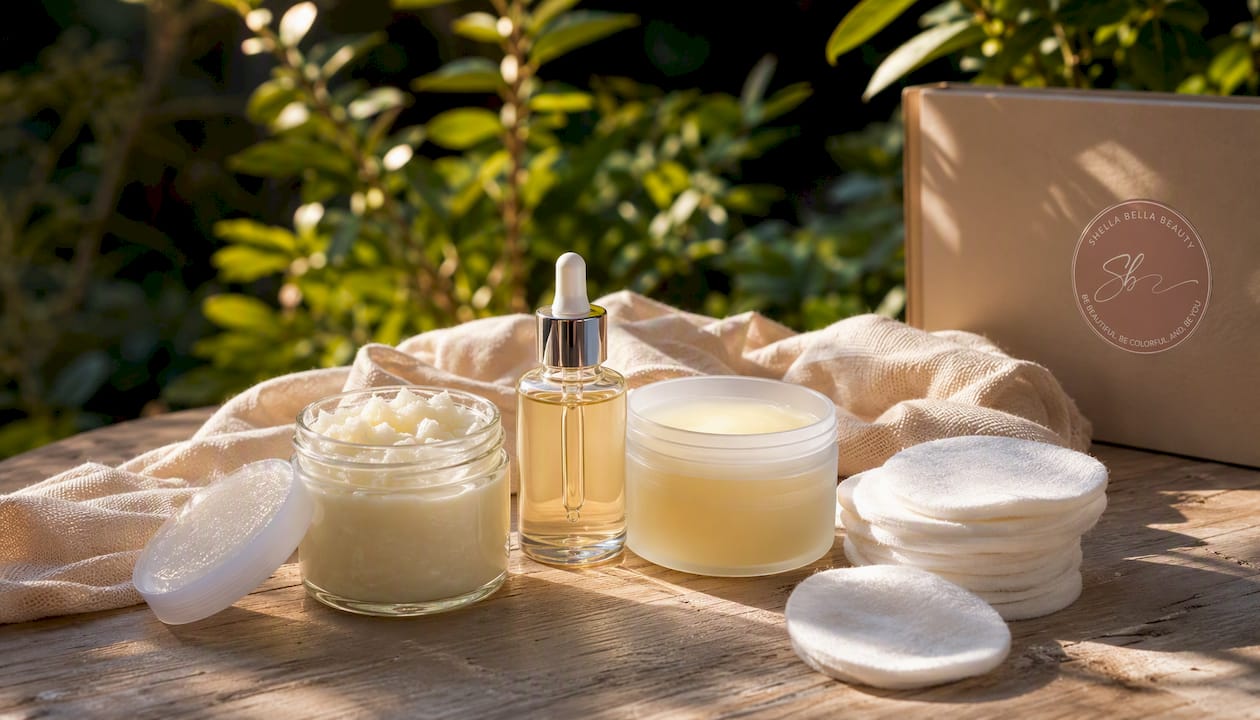
Ingredients that support repair: petrolatum, shea butter, ceramides, and squalane. For a restorative overnight option, a hydrating lip mask applied after exfoliation gives lips extended nourishment through the night.
Ingredients to avoid on freshly exfoliated lips: menthol, camphor, strong synthetic fragrances, and alcohol-based products. These can sting and delay recovery.
Pro Tip: Hold off on matte or long-wear lip formulas for at least a few hours after exfoliating. Their drying agents can pull moisture from skin that is still in the process of restoring itself.
How often should you exfoliate your lips?
Start with once a week and observe how your lips respond over the following 24 hours. If they feel smooth and comfortable with no redness, you may increase to twice weekly. That is the ceiling for physical methods. Start with once a week and observe how your lips respond; you may increase to twice weekly for physical exfoliation if tolerated. For chemical exfoliation, begin even more conservatively, once every two weeks, and increase only if your lips show no irritation.
Signs you are overdoing it:
- Persistent redness or a raw, stinging sensation after exfoliation
- Increased peeling rather than reduced peeling
- New sensitivity to balms or foods that never bothered you before
- Cracking that worsens rather than improves
If you over-exfoliate: stop all exfoliation immediately, apply plain petrolatum several times a day, and avoid any active ingredients near your lips for at least five to seven days. Lip skin lacks sebaceous glands, so it cannot self-lubricate the way facial skin can; recovery depends entirely on the occlusives you apply. If wounds do not close or show signs of infection, see a dermatologist.
Common mistakes that damage lips during exfoliation
Most lip damage from exfoliation comes from a handful of avoidable errors. ChapStick’s guidance is direct: lips that are red or raw after exfoliation are a clear signal to stop and scale back.
- Scrubbing too hard: Replace forceful pressure with the weight of one fingertip and slow, circular motions.
- Exfoliating chapped or bleeding lips: Wait until lips have healed fully. Exfoliating broken skin raises the risk of infection and deeper damage.
- Using coarse household abrasives: Coarse salt, baking soda, or rough towels create microtears. Fine white sugar with an oil base is a safer choice.
- Overusing strong chemical peels: High-strength glycolic acid strips the lip barrier faster than it can regenerate. Stick to PHAs or low-concentration lactic acid.
- Combining multiple actives: Using a chemical exfoliant and a physical scrub in the same session is unnecessary and irritating. Choose one method per session.
- Skipping the emollient in DIY scrubs: Sugar alone without oil or honey creates friction without protection. Always pair an abrasive with a nourishing base.
Lip skin has no oil glands and a lower water-holding capacity than facial skin, which means it loses moisture quickly and recovers slowly when the barrier is compromised.
When should you see a dermatologist about your lips?
Home exfoliation is appropriate for healthy lips with mild flaking. Certain conditions, however, require professional attention rather than a scrub.
See a dermatologist if you notice:
- Persistent bleeding or cracking that does not improve after several days of occlusive care
- Signs of infection: pus, spreading redness, warmth, or swelling
- Severe pain during or after gentle exfoliation
- A rash, blistering, or unusual discoloration that does not resolve
- Chronic severe dryness that may indicate contact dermatitis or another underlying condition
When you go, bring a timeline of symptoms, a list of products you have used (including any DIY ingredients), and photos if you have them. A dermatologist may recommend prescription topical repair creams or, in specific cases, a medical-grade peel performed under clinical supervision. Self-directed strong peels are not a substitute for that care.
This article is general information, not medical advice. Consult a qualified dermatologist for your specific situation.
Expert tips from Marshella at Shella Bella Beauty
Marshella, the voice behind Shellabellabeauty’s Glow Chronicles, approaches lip care as one intentional layer within a broader ritual of restorative skincare, not an isolated step.
- Sequence matters: Exfoliate lips before applying heavier night balms or sleeping masks. A cleared surface absorbs nourishing actives more fully, so the balm you apply afterward does more meaningful work.
- Travel-safe exfoliation: On the road, a damp hotel washcloth and a small pot of coconut oil cover both the exfoliation and the aftercare step without requiring extra products in your bag.
- Testing new ingredients: Before applying any new lip product to your full lip area, dab a small amount on the inner corner of your lip for one application and wait 24 hours. Lip skin can react differently from wrist skin.
- Weekly ritual placement: Fold lip exfoliation into your Sunday evening routine, pairing it with a face mask or a longer skincare ritual. Once a week, intentionally, is far more effective than sporadic daily scrubbing.
For a fuller picture of how lip care fits within an evening skincare routine, Shellabellabeauty’s Glow Chronicles offers step-by-step guidance on building a restorative nighttime ritual.
Key Takeaways
Gentle, consistent lip exfoliation, followed immediately by an occlusive, is the most effective way to restore smoothness without compromising the lip barrier.
| Point | Details |
|---|---|
| Gentleness is non-negotiable | Lip skin has no oil glands; always use light pressure and fine-particle exfoliants. |
| Frequency ceiling | Start once weekly for physical exfoliation; increase to twice weekly if there is no redness or irritation. For chemical exfoliation, start no more than once every two weeks and increase only if well tolerated. |
| Aftercare is mandatory | Apply petrolatum, shea butter, or a ceramide balm immediately after every exfoliation session. |
| Stop when irritated | Redness, rawness, or increased peeling are signals to pause and let the barrier recover. |
| Shellabellabeauty’s approach | Shellabellabeauty recommends barrier-first care: exfoliate gently, then seal with rich occlusives as part of a restorative evening ritual. |
Why gentle exfoliation is the only kind worth doing
There is a tendency in beauty culture to equate intensity with results, and lip exfoliation is where that instinct causes the most unnecessary harm. Lips are asked to do a great deal: they face sun, wind, dry air, and constant movement, all without the sebaceous support that keeps the rest of your face resilient. Aggressive scrubbing or strong acid treatments do not accelerate radiance; they set the barrier back by days, sometimes longer.
What actually works is the opposite of intensity. A fine sugar scrub with a nourishing oil base, used once a week with the lightest possible touch, clears the surface just enough for a rich balm to do its real work. The exfoliation is almost incidental. The aftercare is where the restoration happens. Thinking of it that way, as preparation for nourishment rather than a treatment in itself, changes how you approach the whole ritual. You stop scrubbing to fix your lips and start clearing the way for them to heal.
That shift, from correction to care, is the philosophy at the heart of everything Shellabellabeauty believes about skin. Radiance is not something you force. It is something you return to, one gentle, intentional step at a time.
Smooth lips begin with the right ritual foundation
Shellabellabeauty’s collection is built around exactly the kind of barrier-supporting care your lips need after exfoliation: emollient-rich, fragrance-conscious formulations that work with your skin’s natural rhythm rather than against it. Whether you are looking for a restorative overnight treatment or a nourishing daily balm, each product is chosen with the same intention that guides every Glow Chronicles article: thoughtful ingredients, elevated experience, and results that feel as good as they look.

For readers who want to build a complete lip-care ritual within a broader skincare practice, Shellabellabeauty’s luxury skincare routine guide shows exactly how restorative steps like lip exfoliation and occlusive care fit into an elevated weekly regimen. Ready to care for your lips with the same intention you bring to the rest of your routine? Visit Shellabellabeauty to find formulations designed for exactly this kind of gentle, restorative care.
Useful sources
- American Academy of Dermatology: How to safely exfoliate at home
- American Academy of Dermatology: How to heal dry, chapped lips
- Curology: Exfoliating your lips — what you need to know
- Vaseline: Facts about using a lip scrub
- Aquaphor: How to exfoliate lips
- The Ordinary: How to exfoliate lips
- Healthline: How to exfoliate your lips
- ChapStick: How to use lip scrub
FAQ
What is the best way to exfoliate lips?
The gentlest and most effective method is a fine sugar-and-oil scrub massaged in small circles for 20–30 seconds on damp lips, followed immediately by a thick occlusive like petrolatum or shea butter. A soft damp washcloth works equally well for very sensitive lips.
How do you remove dead skin from your lips safely?
Wet your lips with warm water to soften the skin, then use a soft cloth or a fine sugar scrub with very light pressure for no more than 30 seconds, rinse, and apply a nourishing balm right away. Never pull or pick at flaking skin, as this can cause bleeding and delay healing.
Can you exfoliate your lips with Vaseline?
Vaseline alone does not exfoliate; it is an occlusive that seals moisture in rather than removing dead cells. Use it as your aftercare step, applied generously once you have rinsed away a sugar scrub or washcloth treatment.
Is it good to exfoliate your lips regularly?
Yes, when done gently and no more than once or twice a week, lip exfoliation removes flaking skin so balms and treatments absorb more effectively. Over-exfoliating, however, strips the barrier and causes more dryness, so frequency and pressure should always stay conservative.
Recommended
- Best Lipstick for Dry Lips: Choosing Color Without Compromising Comfort – Shella Bella Beauty™
- Refined Evenings: An Evening Skincare Routine for Smoother Texture – Shella Bella Beauty™
- How to Smooth Skin Texture: A Refined Approach to Radiant Skin – Shella Bella Beauty™
- How to Soften Visible Fine Lines – Shella Bella Beauty™
- Join Glow Chronicles™ — Continue the Glow™ with editor’s picks, seasonal beauty rituals, exclusive skincare insights, and new editions delivered to your inbox.